1. Layout Design
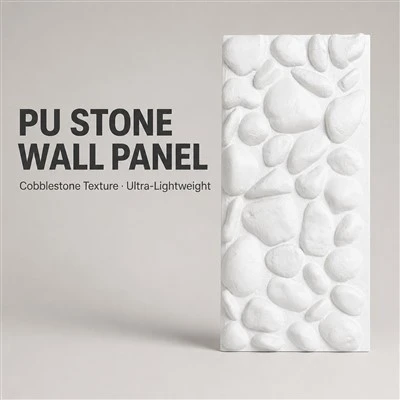
Layout the stones according to the wall dimensions, ideally with a staggered, irregular arrangement for a more realistic look. Avoid unidirectional layout.
2. Substrate Preparation
Level the wall surface using OSB board and wooden framing. If using only wooden framing as a base, the edges of the framing should be fixed to the edges of the PU stone layout.
3. Cutting and Installation
Cut the PU stones to the pre-arranged dimensions and apply repair paste to the cut surfaces. Then, apply structural adhesive in dots to the back of the PU stones, adhere them to the substrate, and secure them with nails. Generally, the stones are joined from bottom to top and from left to right.
4. Nail Hole Repair
After final fixing, the nail holes need to be repaired. Repair paint or paste provided by the manufacturer is usually available for this purpose.